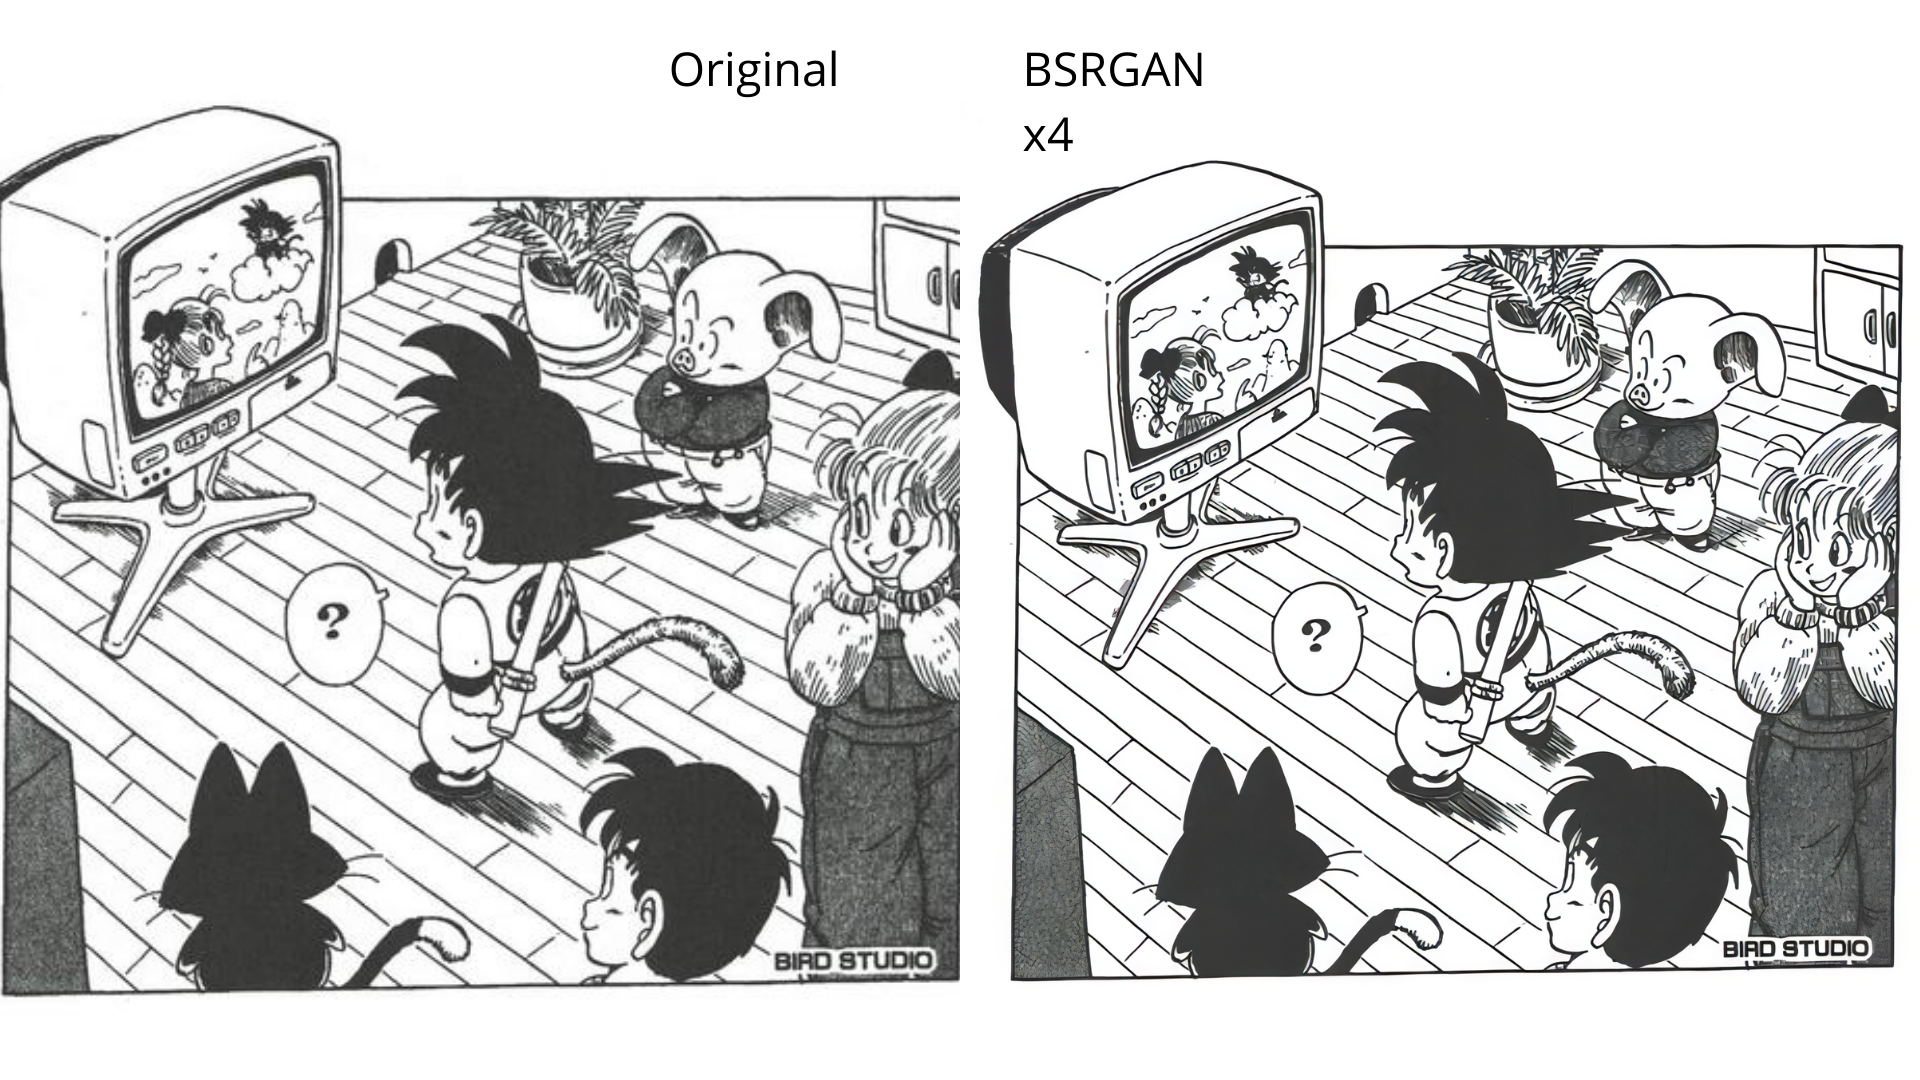
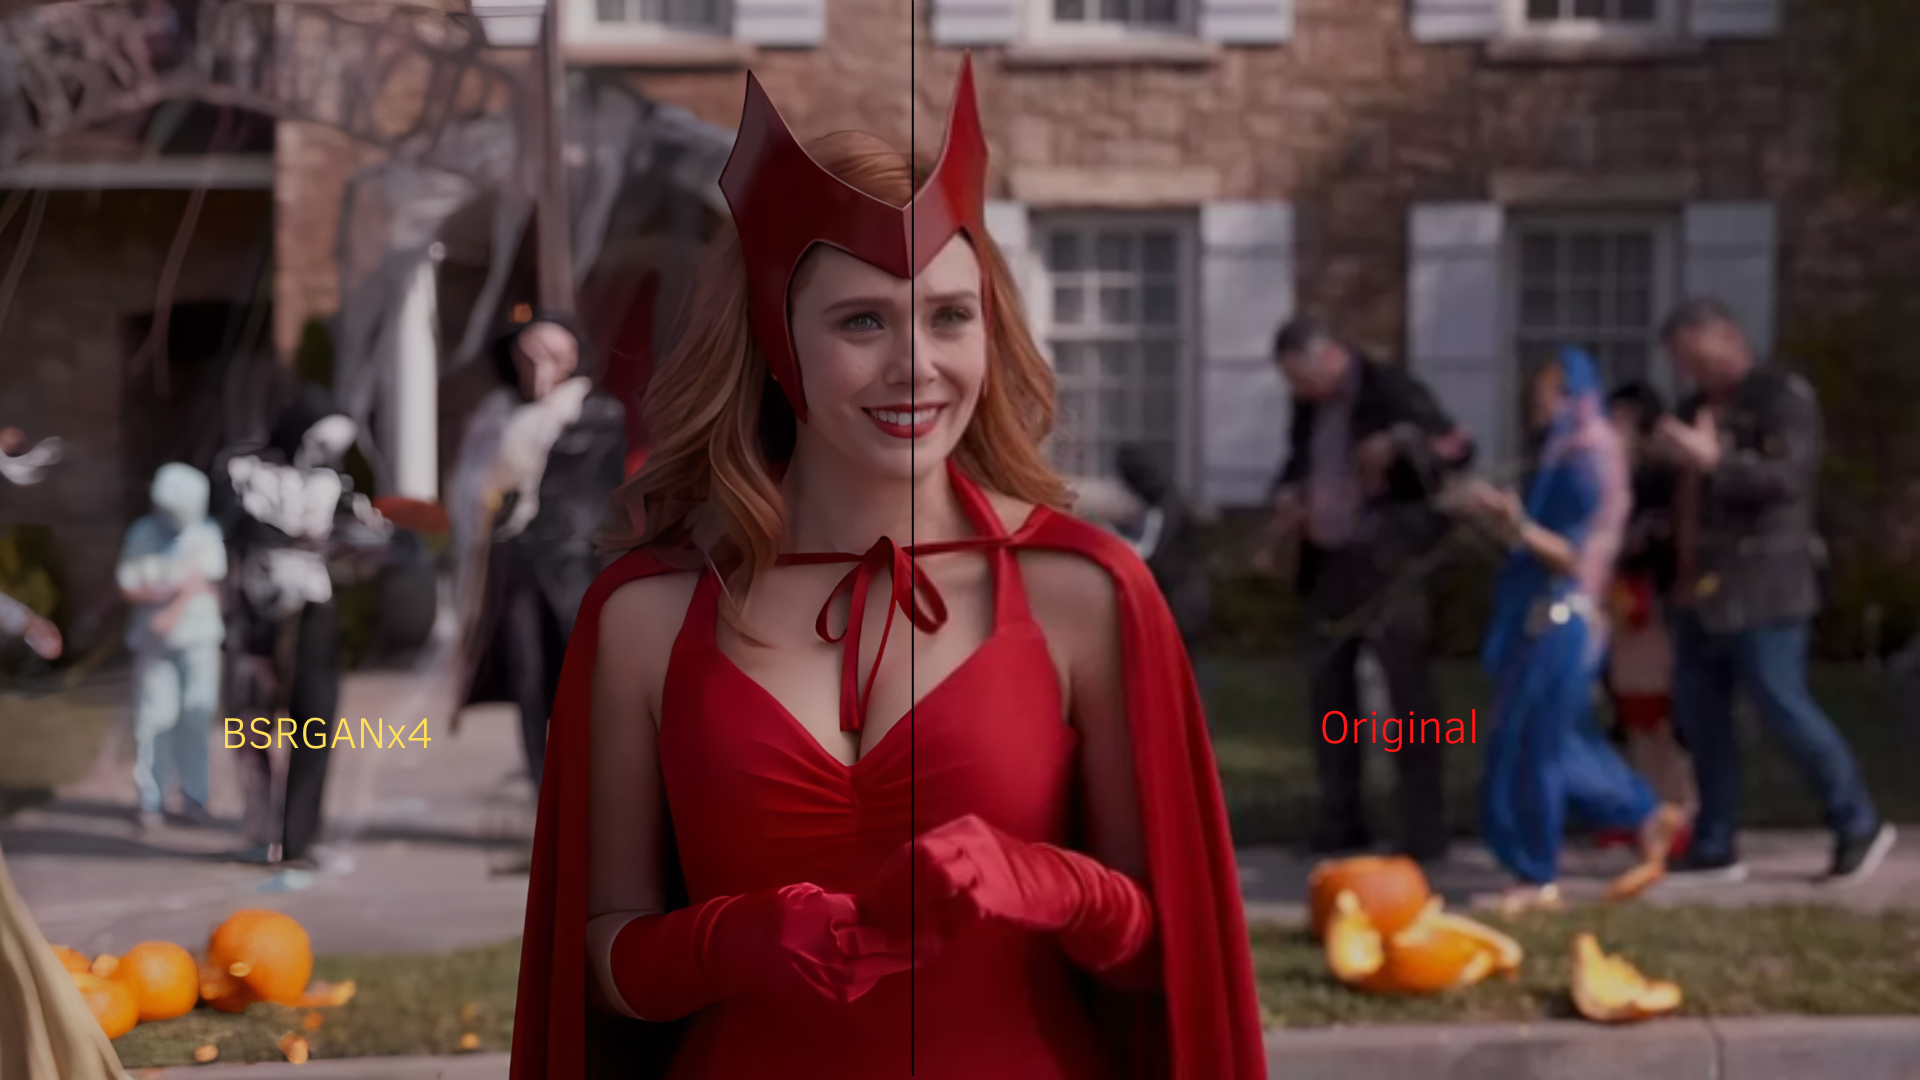
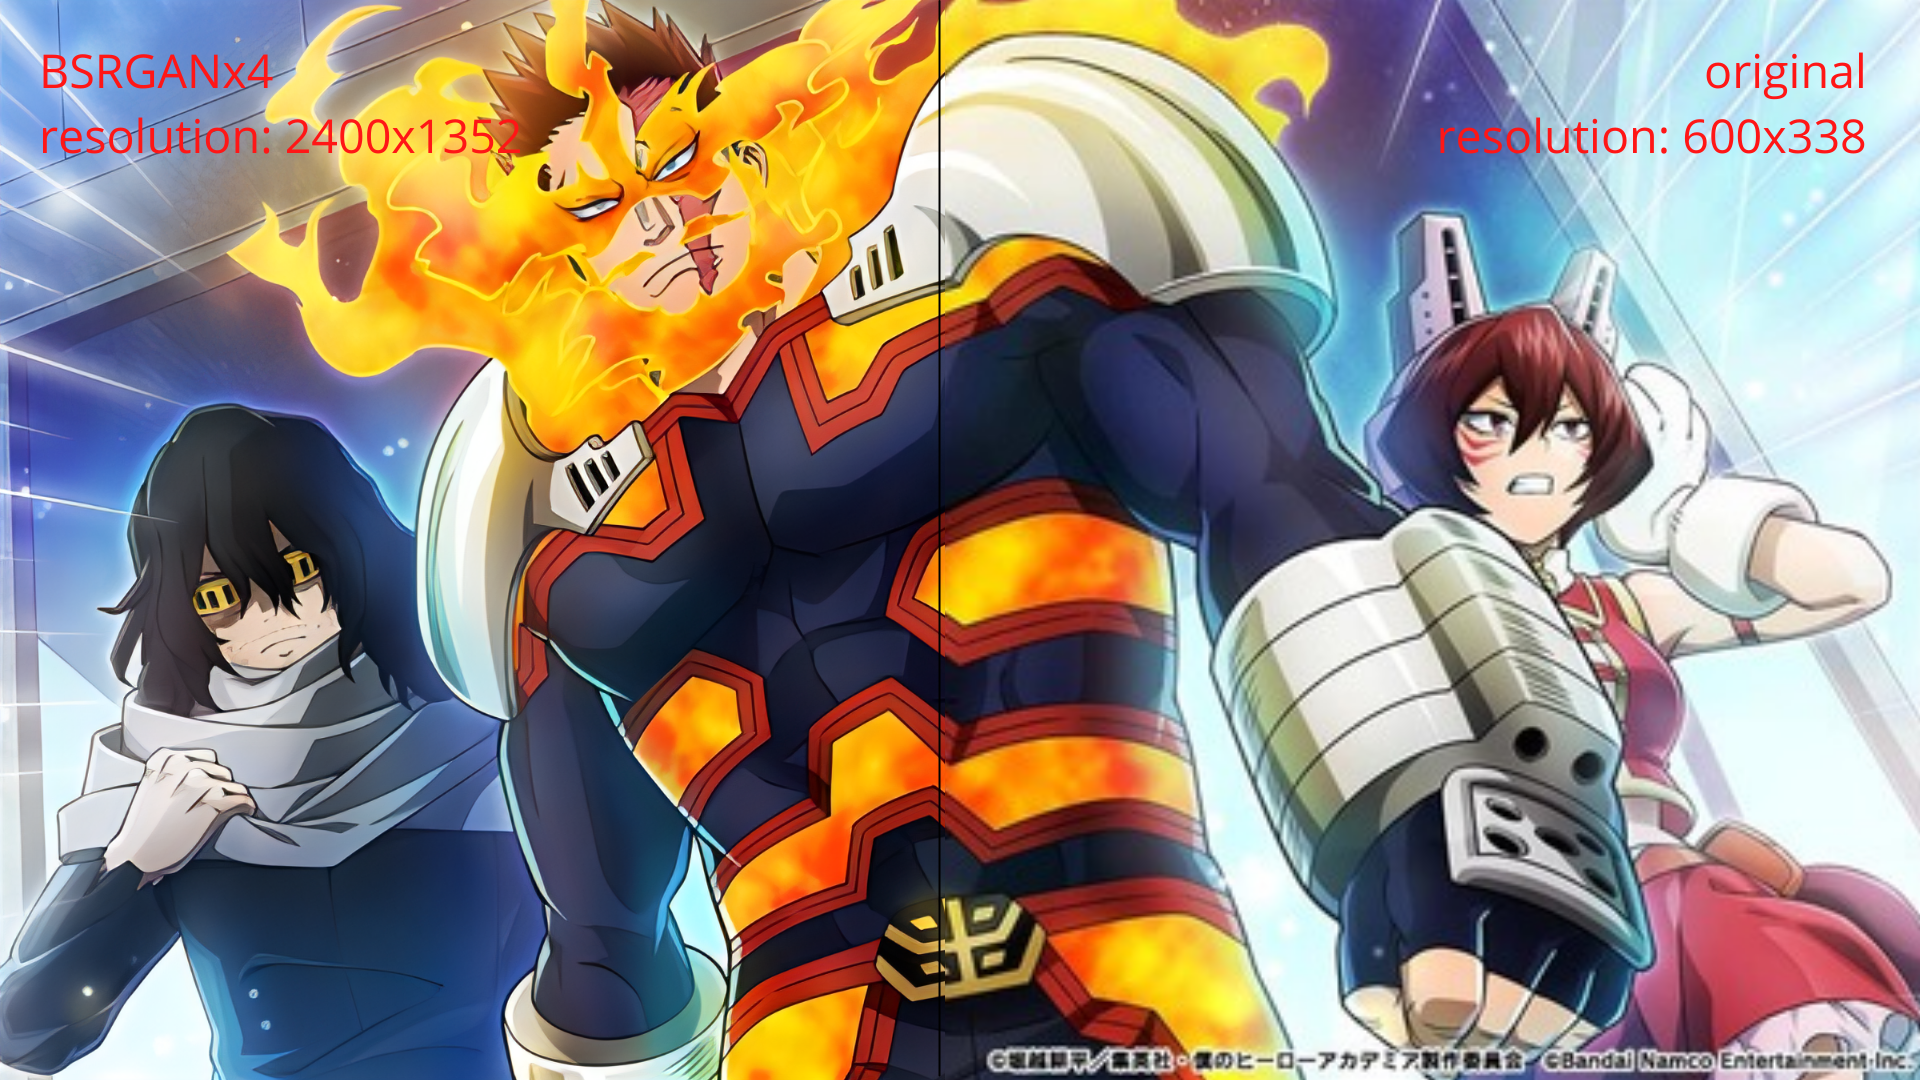
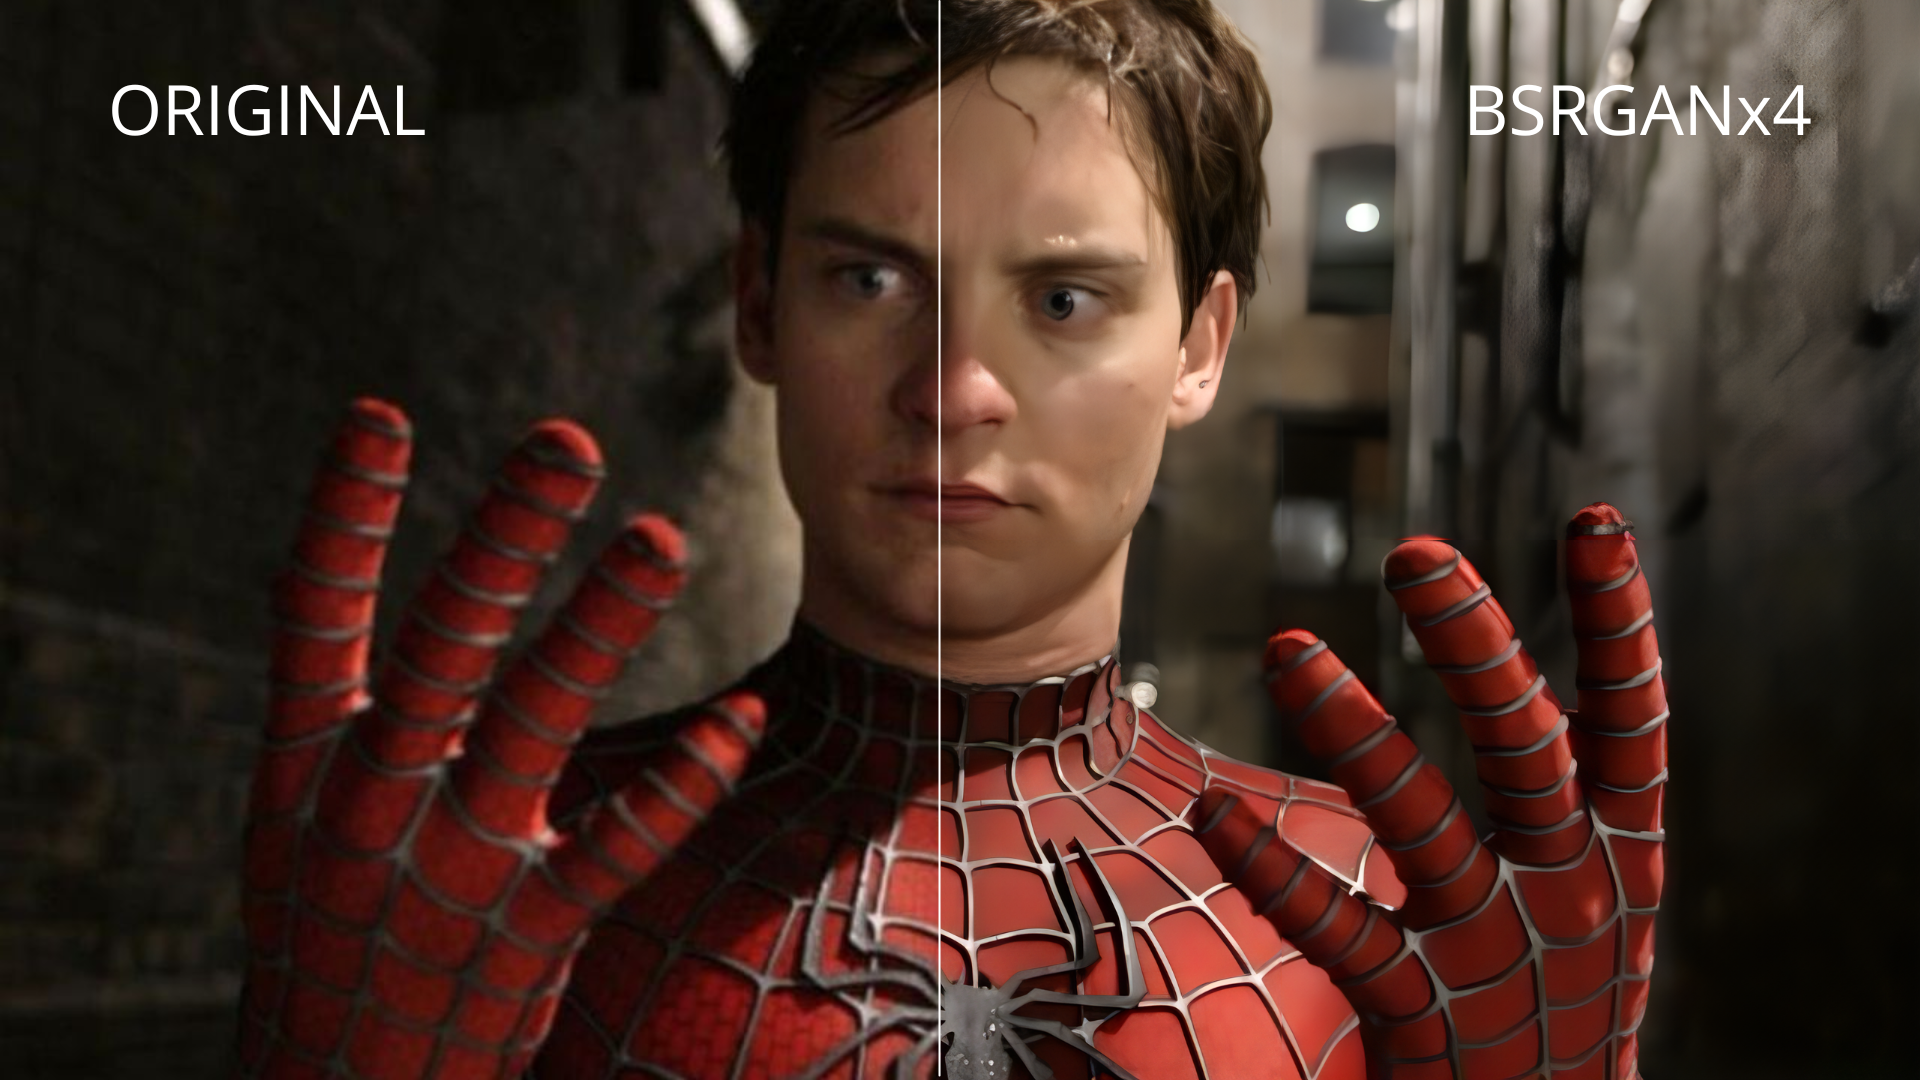
Qualityscaler is a Windows app powered by AI to enhance, upscale and de-noise photographs and videos.
movie_max_vp9.webm
- https://github.com/Djdefrag/RealScaler / RealScaler - image/video AI upscaler (Real-ESRGAN)
- https://github.com/Djdefrag/FluidFrames.RIFE / FluidFrames.RIFE - video AI frame generation
- BSRGAN - https://github.com/cszn/BSRGAN
- Real-ESRGAN - https://github.com/xinntao/Real-ESRGAN
- IRCNN - https://github.com/lipengFu/IRCNN
- https://80.lv/articles/80-level-digest-great-ai-powered-tools-for-upscaling-images/
- https://timesavervfx.com/ai-upscale/
QualityScaler is completely written in Python, from backend to frontend.
- pytorch (https://github.com/pytorch/pytorch)
- onnx (https://github.com/onnx/onnx)
- onnxconverter-common (https://github.com/microsoft/onnxconverter-common)
- onnxruntime-directml (https://github.com/microsoft/onnxruntime)
- customtkinter (https://github.com/TomSchimansky/CustomTkinter)
- openCV (https://github.com/opencv/opencv)
- moviepy (https://github.com/Zulko/moviepy)
- pyInstaller (https://github.com/pyinstaller/pyinstaller)
Prerequisites.
- Python installed on your pc (https://www.python.org/downloads/release/python-3119/)
- VSCode installed on your pc (https://code.visualstudio.com/)
- AI models downloaded (https://gofile.io/d/jQmbgY)
- FFMPEG.exe downloaded (https://www.gyan.dev/ffmpeg/builds/) RELEASE BUILD > ffmpeg-release-essentials.7z
Getting started.
- Download the project on your PC (Green button Code > Download ZIP)
- Extract the project from the .zip
- Extract the AI models files in /AI-onnx folder
- Extract FFMPEG.exe in /Assets folder
- Open the project with VSCode (Drag&Drop the project directory on VSCode)
- Click on QualityScaler.py from left bar (VSCode will ask to install Python plugins)
- Install dependencies. In VSCode there is the "Terminal" panel, click there and execute the command "pip install -r requirements.txt"
- Close VSCode and re-open it (this will refresh all the dependecies installed)
- Click on the "Play button" in the upper right corner of VSCode
- Windows 11 / Windows 10
- RAM >= 8Gb
- Any Directx12 compatible GPU with >= 4GB VRAM
- Elegant and easy to use GUI
- Image and Video upscale
- Multiple GPUs support
- Compatible images - jpg, png, tif, bmp, webp, heic
- Compatible video - mp4, wemb, mkv, flv, gif, avi, mov, mpg, qt, 3gp
- Automatic image tilling to avoid gpu VRAM limitation
- Resize image/video before upscaling
- Interpolation beetween original file and upscaled file
- Video upscaling STOP&RESUME
- PRIVACY FOCUSED - no internet connection required / everything is on your PC
- 1.X versions
- Switch to Pytorch-directml to support all Directx12 compatible gpu (AMD, Intel, Nvidia)
- New GUI with Windows 11 style
- Include audio for upscaled video
- Optimizing video frame resize and extraction speed
- Multi GPU support (for pc with double GPU, integrated + dedicated)
- Python 3.10 (expecting ~10% more performance)
- 2.X versions
- New, completely redesigned graphical interface based on @customtkinter
- Upscaling images and videos at once (currently it is possible to upscale images or single video)
- Upscale multiple videos at once
- Choose upscaled video extension
- Interpolation between the original and upscaled image/video
- More Interpolation levels (Low, Medium, High)
- Show the remaining time to complete video upscaling
- Support for SRVGGNetCompact AI architecture
- Metadata extraction and application from original file to upscaled file (via exiftool)
- 3.X versions
- New AI engine powered by onnxruntime-directml (https://github.com/microsoft/onnxruntime))
- Python 3.11 (performance improvements)
- Python 3.12 (performance improvements)
- Display images/videos upscaled resolution in the GUI
- Updated FFMPEG to version 7.x (latest release)
- Saving user settings (AI model, GPU, CPU etc.)
- Video AI multi-threading upscale
- Video upscaling STOP&RESUME
- 4.X version
- Hardware accelerated video encoding (nvenc / amf / qsv)
- More video extensions (.mp4 / .mkv / .avi / .mov)
- Output resolution scaling
- Video AI multi-threading improvements


